Contact form
Shopify's own contact form with name, email, phone, message and extra fields, plus an info column with an image, address, map link, email and hours.
- Category
- Forms and newsletter
- Use on
- Contact, About, Landing pages, Any page
- Reads
- Shopify contact form
- Size
- 36 KB, no JavaScript
- License
- MIT, free for client work
In short
Contact form is a free Shopify section built on Shopify's own contact form, so messages reach the store's sender email without an app. Name, email, phone and message are built in, extra fields (short text, long text, choice list, checkbox) are blocks, and an optional column beside the form shows an image, the address with a map link, email, phone and opening hours. Errors are listed above the fields, every field has a visible label, and it works in Online Store 2.0 themes.
When to use it
- The Contact page, with the studio address, opening hours and a photo of the shop
- A wholesale or custom-order enquiry form with a choice list and an order-number field
- A short "Ask us anything" form at the bottom of an About or landing page
In the theme editor
- Heading (tag H1–H3 or paragraph, four sizes) and text
- Name and phone hidden, optional or required; message optional or required; email always required
- Extra field blocks: short text, long text, choice list or checkbox, help text, required, half or full width
- Every label, the required marker, button, success message, error heading and privacy note as editable text
- Info column: desktop and mobile image with focal points, heading, address with map link, contact detail blocks (email, phone, hours)
- Info column left or right on desktop, order on mobile, page or full width, heading alignment per device
- Background color or gradient, text, accent, field, border, info column and error colors
- Top and bottom padding per device, show on desktop/mobile only, anchor ID, fade in on scroll
Files
sections/lib-contact-form.liquidView the code
snippets/lib-image.liquidView the code
Written in plain Liquid and CSS, with no JavaScript. No app, no dependencies.
How to add it to your theme
- Copy the section file into your theme’s sections folder, and any snippet it lists into snippets.
- In the theme editor, choose Add section and pick the one that starts with “Lib ·”.
- Replace the sample text with your store’s own, and set the colors to match your brand.
Questions
- Where do the messages go?
- To the sender email set in the Shopify admin under Settings > Notifications, like your theme's own contact page. The section uses Shopify's contact form, so there is no app or third-party service, and the store's spam protection settings still apply.
- Can I add my own fields?
- Yes. Add Extra field blocks: short text, long text, a choice list (one choice per line) or a checkbox, each with a help line, required or optional, and half or full width. The label becomes the field's name in the email you receive.
- Is it accessible?
- Every field has a visible label and the required marker is text, not only a star. After sending, errors are listed above the fields in an alert, with the email field marked invalid, and the success message is announced. Name, email and phone use autocomplete, so browsers can fill them in.
- Does the map link use a maps API?
- No. The address becomes a plain link that opens it in Google Maps in a new tab, so nothing loads on your page and no API key is needed. Leave the link text empty to hide it.
Before you publish
- The text in the demos is sample content. Replace it with facts about your own store before you publish.
- Animations are switched off for visitors who ask for reduced motion.
- We check every file with Shopify Theme Check before publishing it here.
Need it adapted to your theme, or a section that isn’t here? See Shopify theme development.
More sections
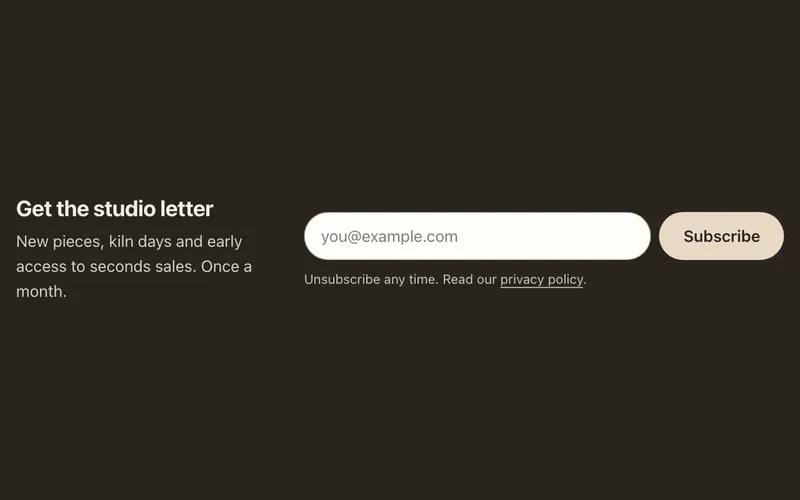
Forms and newsletter
Newsletter banner
A compact email sign-up: a one-row strip or a footer-style block with optional image. Saves subscribers as Shopify customers; no app or JavaScript.
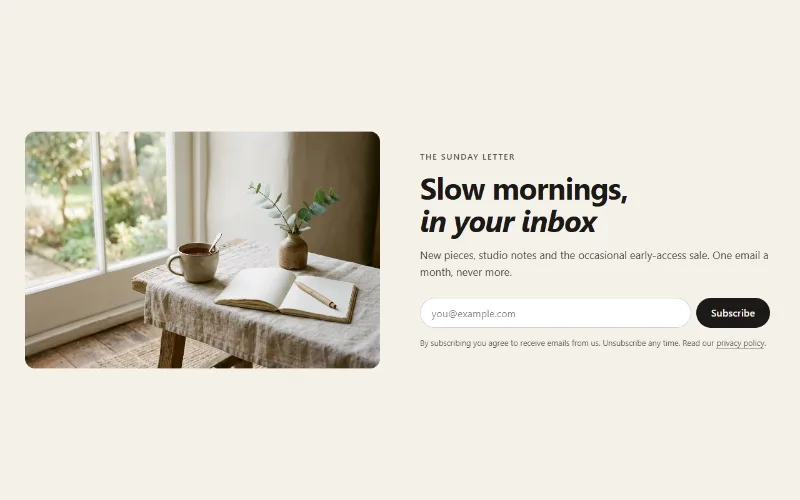
Forms and newsletter
Newsletter signup
An email signup that saves subscribers as Shopify customers tagged newsletter, in a centered, split-image or image-banner layout. No app or JavaScript.
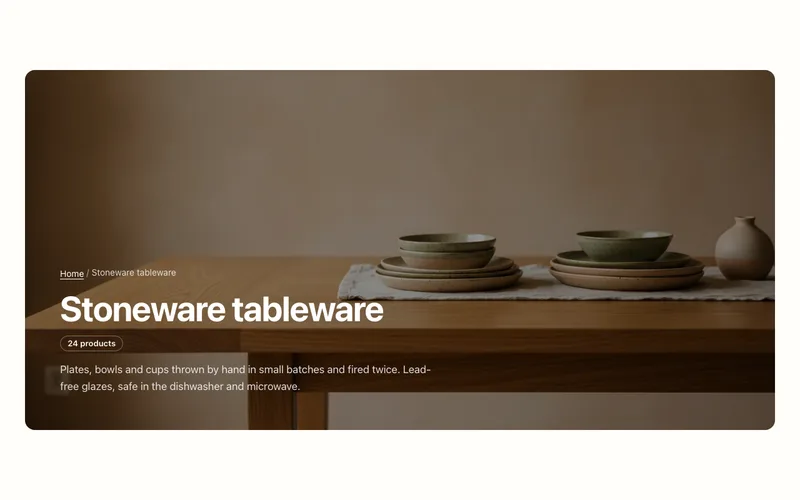
Hero and banners
Collection banner
Collection page header with the collection's title, description, image and product count, over the image or beside it, plus an optional breadcrumb.
